 Pricing
Support
Log in
Sign up
Pricing
Support
Log in
Sign up
by Almar Klein | published 01-02-2022 | last edited 22-06-2022
How to host your own modified time tracker
In this post I'll take you through the steps to setup the TimeTagger time tracker application on your own server. I'll explain how you can create a custom startup script, so you can start modifying the application, or e.g. integrate it with other web apps. For a more high-level guide on hosting the readily available Docker image, see this post.
The TimeTagger library
TimeTagger is an open source time tracker - the source is on Github. The server is written in Python, making it easy to setup and tinker with. It is implemented a bit like a framework, giving you the flexibility to tweak the server to your liking and e.g. implement your own authentication mechanism. More on that later.

The application
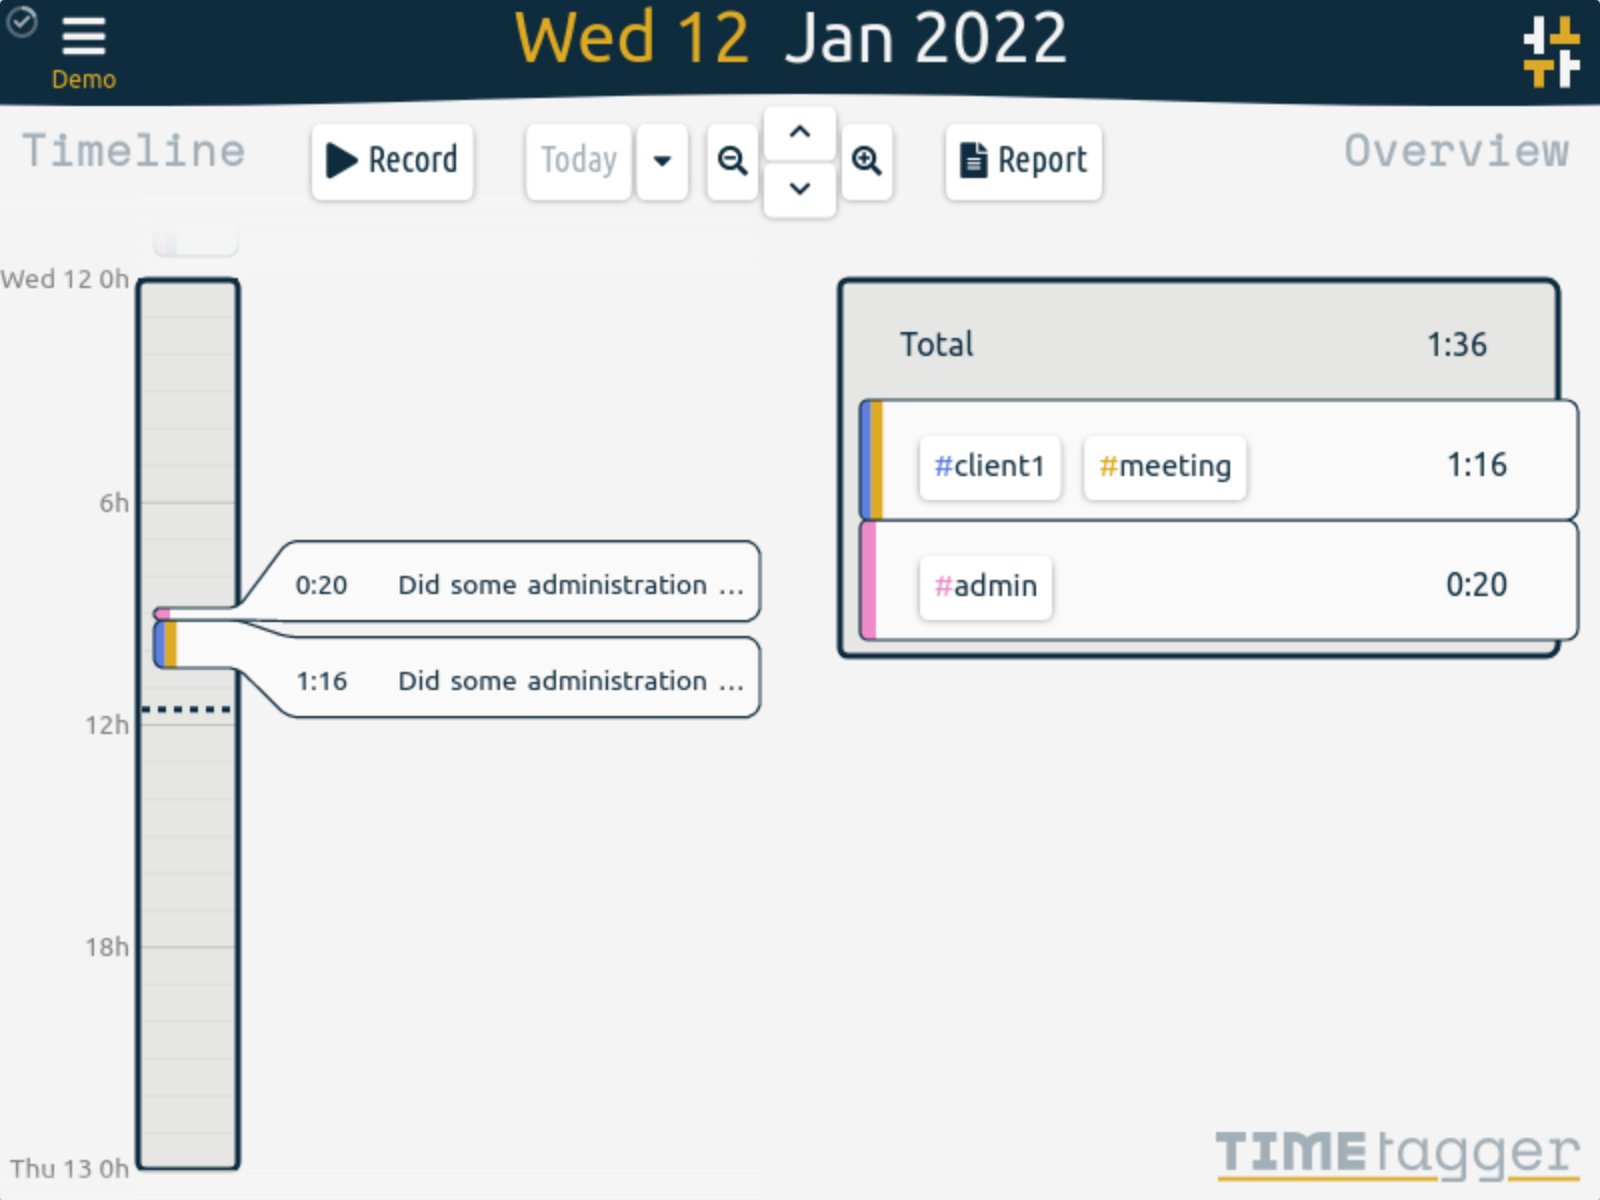
When you have the server up and running, it will serve a simple website and the TimeTagger application. The app's interface is based around an interactive timeline, and is aimed at individuals who want a simple time tracker with powerful features such as easy navigation (also with the keyboard) and solid reporting. You could try the demo to get an idea.
Setting things up
TimeTagger needs Python 3.6 or higher. The easiest way to install it (and its dependencies) is to use the Python installer:
$ python -m pip install -U timetagger
Creating the server script
You will need to create a script that uses the timetagger library to create a running server. The main.py from Github is a good starting point. This is the script that is used when you'd run python -m timetagger. But the point of this post is to help you create your own startup script, so let's copy that __main__.py to e.g. mytimetagger.py. (Beware not to name it timetagger.py because that will cause a name conflict with the library.)
Once you have your own startup script you can start the server with:
$ python mytimetagger.py
You can then open a browser tab at http://localhost to get started. That's it, really! The remainder of this post explains things in more details.

Configuration
You can tweak the behaviour of the server using environment variables and CLI arguments. For example, by default it binds to 0.0.0.0:80 making it available to outside connections, but you can change that as follows:
$ python run.py --bind=localhost:80
For a full list of configuration options see the api docs.

Understanding the server script
Let's dive a bit deeper into the script to see what it does. We'll not cover each line, but highlight the most important bits. The functions discussed below are explained in detail in the api docs.
Let's start with these lines:
common_assets = create_assets_from_dir(resource_filename("timetagger.common", "."))
apponly_assets = create_assets_from_dir(resource_filename("timetagger.app", "."))
image_assets = create_assets_from_dir(resource_filename("timetagger.images", "."))
page_assets = create_assets_from_dir(resource_filename("timetagger.pages", "."))
Here, the assets required to run TimeTagger are loaded into Python dicts. These are later combined into just two dicts. Here you could insert your own assets to tweak the hosted website. The dicts are then wrapped in a handler using asgineer:
app_asset_handler = asgineer.utils.make_asset_handler(app_assets, max_age=0)
web_asset_handler = asgineer.utils.make_asset_handler(web_assets, max_age=0)
This creates an object that can very efficiently handle http requests. This brings us to the main handler. We use asgineer, a micro web framework that allows writing handlers as simple async functions:
@asgineer.to_asgi
async def main_handler(request):
    if request.path == "/":
        return 307, {"Location": "/timetagger/"}, b""  # Redirect
    elif request.path.startswith("/timetagger/"):
        if request.path.startswith("/timetagger/api/v2/"):
            path = request.path[19:].strip("/")
            return await api_handler(request, path)
        elif request.path.startswith("/timetagger/app/"):
            path = request.path[16:].strip("/")
            return await app_asset_handler(request, path)
        else:
            path = request.path[12:].strip("/")
            return await web_asset_handler(request, path)
    else:
        return 404, {}, "only serving at /timetagger/"
You can see how depending on the path, this handler will either respond/redirect directly, or will delegate the request to the asset handlers we saw above.
Authentication
TimeTagger authentication occurs via a webtoken that the server generates itself. This token expires, but the client will automatically exchange it for a new one before it expires. But how does the client obtain the first token? This happens by establishing - one way or another - that the client can be trusted, and then handing out the token.
The default startup script supports two methods for this authentication bootstrapping. The first method works by checking whether the client is on the same machine as the server:
async def get_webtoken_localhost(request, auth_info):
    # Establish that we can trust the client
    if request.host not in ("localhost", "127.0.0.1"):
        return 403, {}, "forbidden: must be on localhost"
    # Return the webtoken for the default user
    token = await get_webtoken_unsafe("defaultuser")
    return 200, {}, dict(token=token)
You can see how - once we know that it's safe - we use get_webtoken_unsafe to produce and return a webtoken. This method is named as such to stress that it must only be used when you're certain (to a certain degree) that the user is who they claim to be.
The second method to bootstrap authentication uses credentials (which are part of the server config. This method uses BCrypt to store and compare the password.
async def get_webtoken_usernamepassword(request, auth_info):
    # Get credentials from request
    user = auth_info.get("username", "").strip()
    pw = auth_info.get("password", "").strip()
    # Get hash for this user
    hash = CREDENTIALS.get(user, "")
    # Check
    if user and hash and bcrypt.checkpw(pw.encode(), hash.encode()):
        token = await get_webtoken_unsafe(user)
        return 200, {}, dict(token=token)
    else:
        return 403, {}, "Invalid credentials"
You can replace this with your own authentication mechanism, e.g. email authentication or OAuth. On timetagger.app we use the auth0 service to get the user's email address in a trusted manner.

Running in the cloud
You could run your own TimeTagger server in the cloud, but if you do this, you should:
- Make sure that you conform to the TimeTagger license restrictions, which means (in short) that any changes and additions that you made must be made open source under the same license.
- You may want to establish a way to do backups of the timetracking data.
- All the other things that come with keeping a server running.
At this point, you may want to consider taking a subscription at timetagger.app, because we take care of all these things for you. Plus you'd support the ongoing work of improving TimeTagger :)
License
TimeTagger is subject to the GPL-3.0 License, you can find more details in the and README.md and the LICENSE.