 Pricing
Support
Log in
Sign up
Pricing
Support
Log in
Sign up
by Almar Klein | published 02-02-2021 | last edited 21-06-2022
How to use #tags to track your time
This topic is also covered in a video tutorial.
One of the most prominent features of TimeTagger is the use of tags. The use of tags creates a very lightweight way to organize records. There are no projects to create or manage; you just add tags as you see fit. Being able to add multiple tags to a record enables very flexible and interesting ways to get insight into your spent time. In this post I'll explain in detail how this works.
Creating tags
You create tags when you write the description of a time record, by starting a word with "#". You can create as many tags as you like. If you do not specify any tags, the record is implicitly marked "#untagged". The record dialog will show tag suggestions based on the most recently used tags. You can click these (or select with Ctrl+number) to add them to the description. But you can always use other tags simply by typing them!
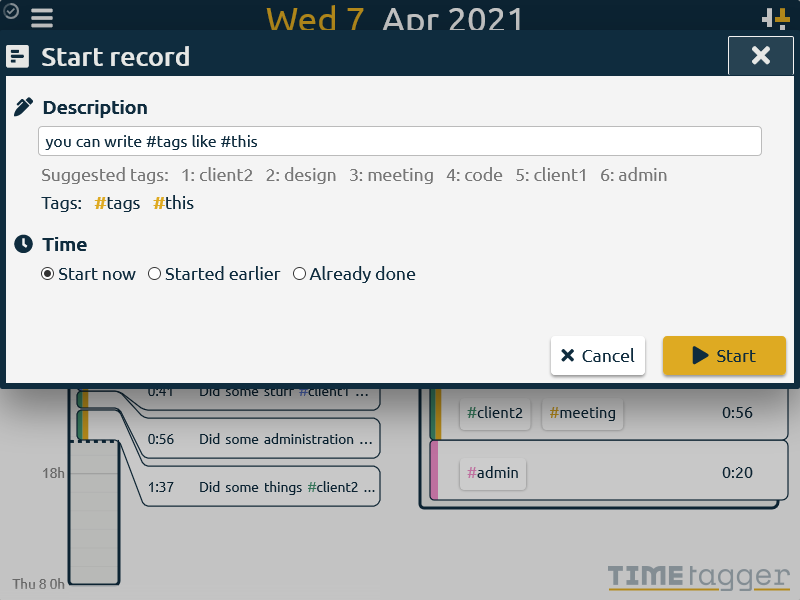
Tags can contain all alphanumeric characters, including special characters like ë or é. Further, the dash ("-"), underscore ("_"), and forward slash ("/") are allowed. Tags are not case sensitive (and will usually be shown lowercase).
It's worth noting that if you add multiple tags, TimeTagger considers these tags unordered. We'll see below why this is. If you really want to enforce a certain structure, you could for instance use the forward slash to combine multiple words into a single tag, e.g. "#client1/meeting".
Get the overview with tags
Consider this week view from the demo. You can see (in the overview on the right) that the total duration for each combination of tags is shown, and that these are sorted by the spent time, while being automatically grouped in a sensible way.
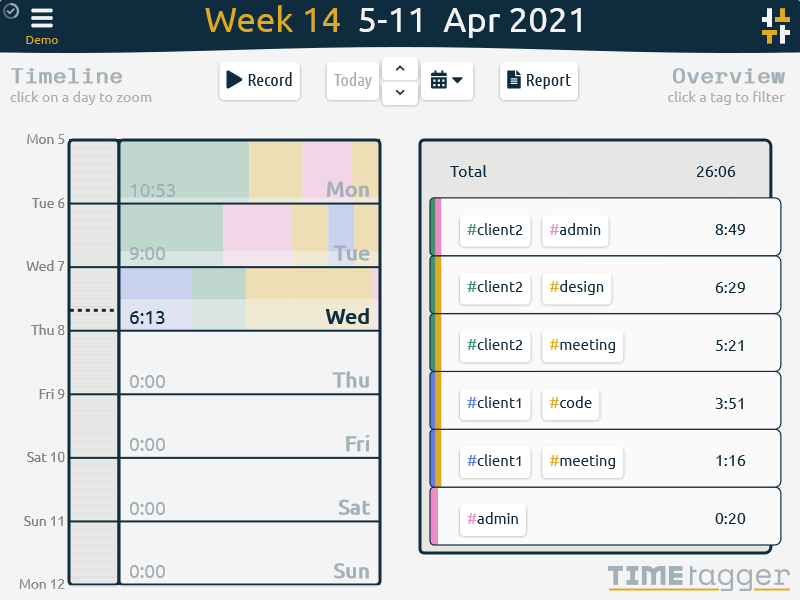
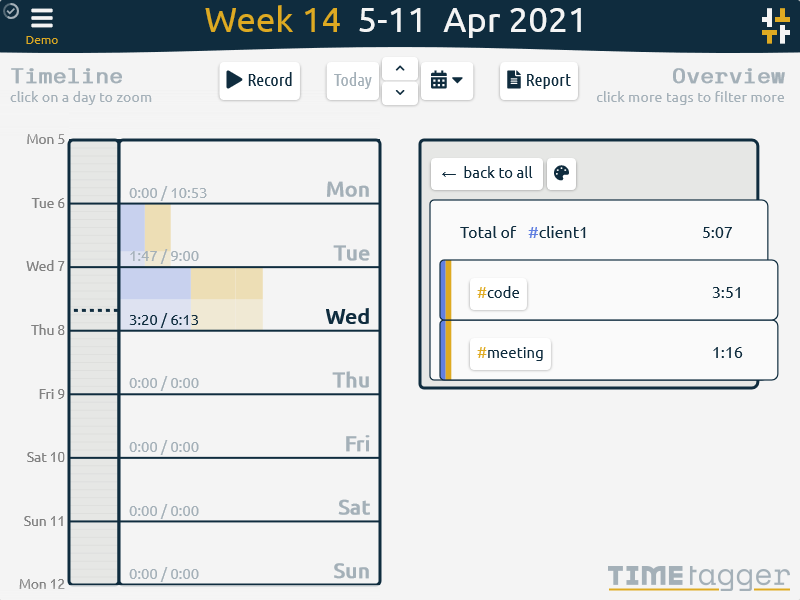
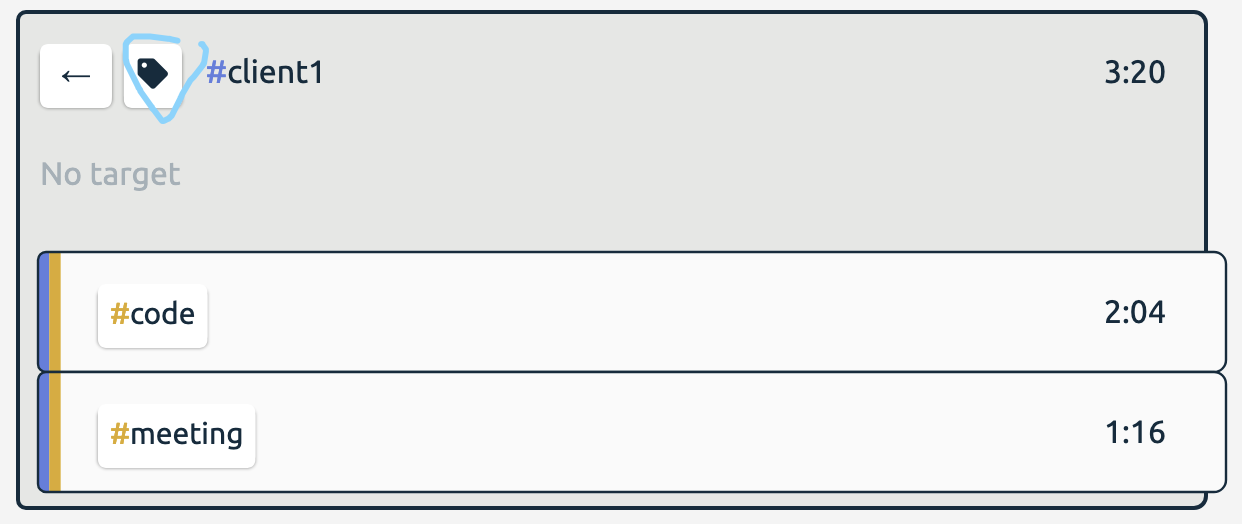
The list in the overview is quite large, and does not tell you for instance how much hours you've worked for #client1 in total. By clicking on a tag (e.g. on "#client1") you get an overview for that tag specifically. You can select multiple tags this way.
By first going back to the full overview (by clicking on "back to all"), and selecting another tag (e.g. "#meeting"), we get another more detailed overview. In this case the total time spent in meetings, divided over the different clients.
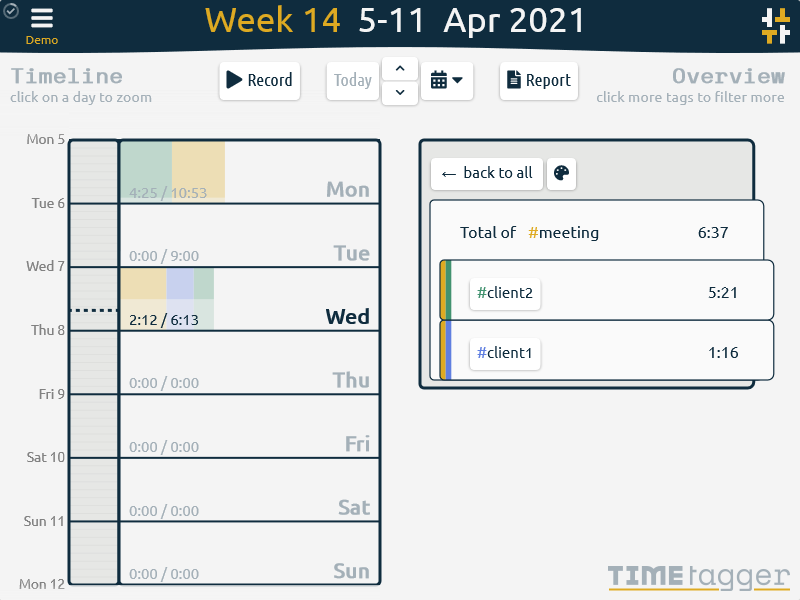
Note that the report (shown by clicking the report button at the top) applies to currently selected tags and time range.
Managing tags
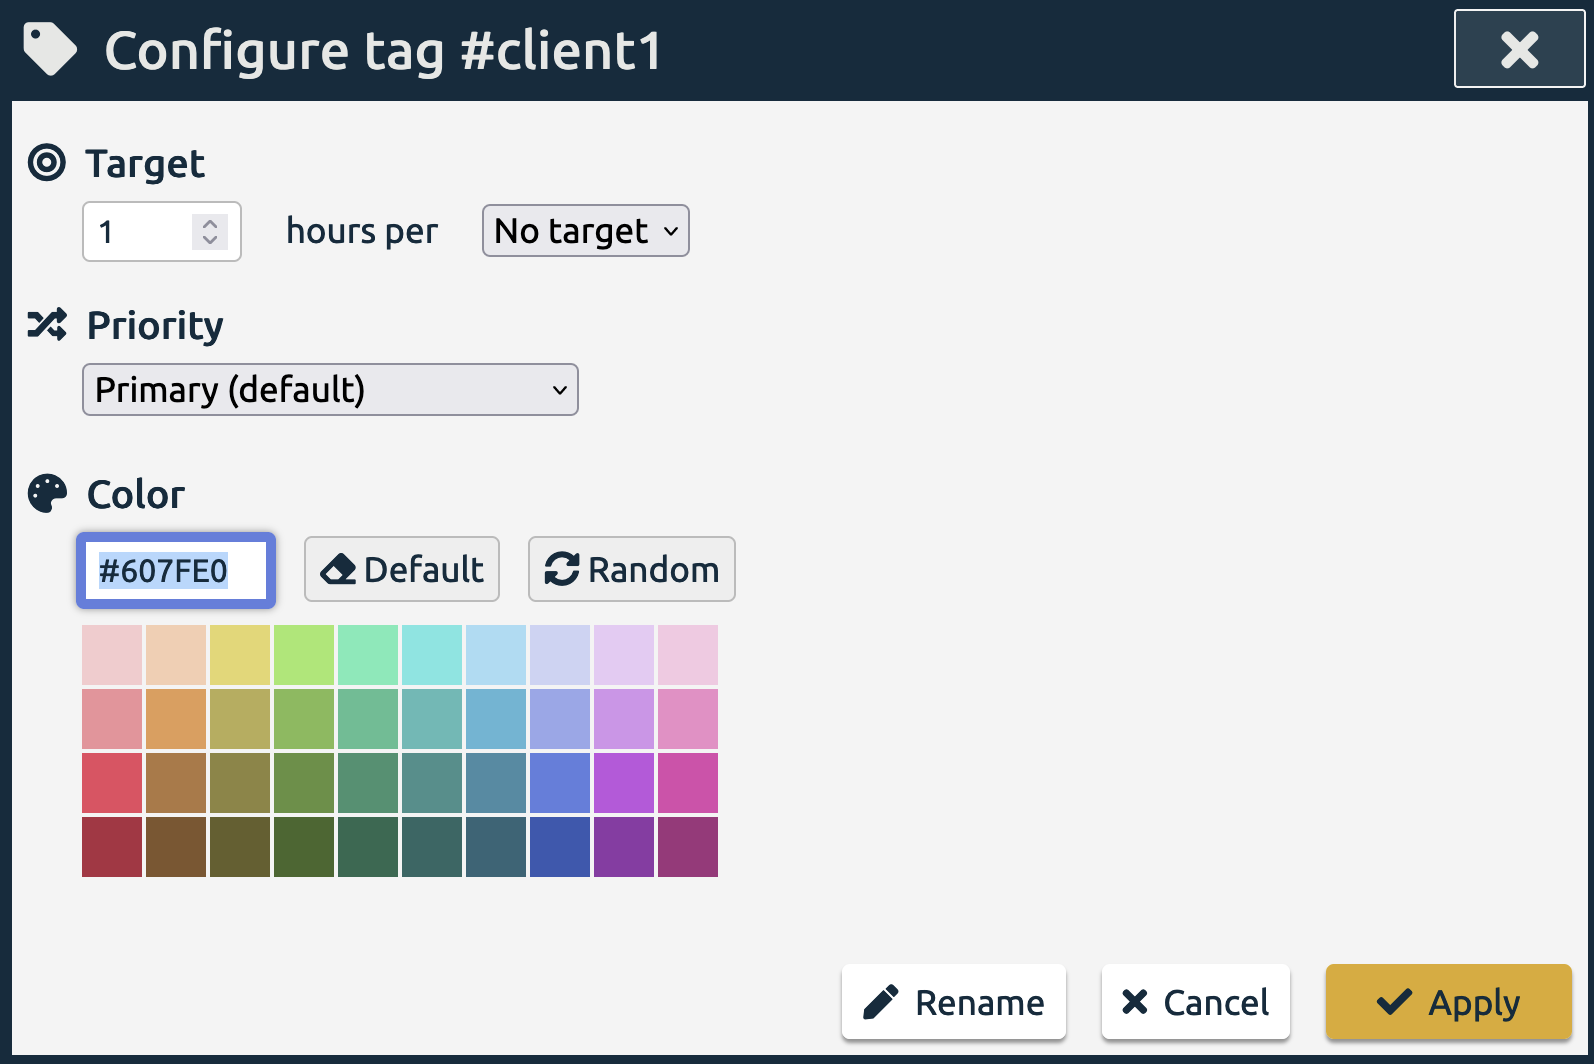
Tags are solely defined by their presence in the description of the records. But they can be managed via the tag dialog. Here you can associate a color with the tag and set a target. This is also where a tag can be renamed.
Search
The search dialog can be opened via the menu (☰ Search records and tags).
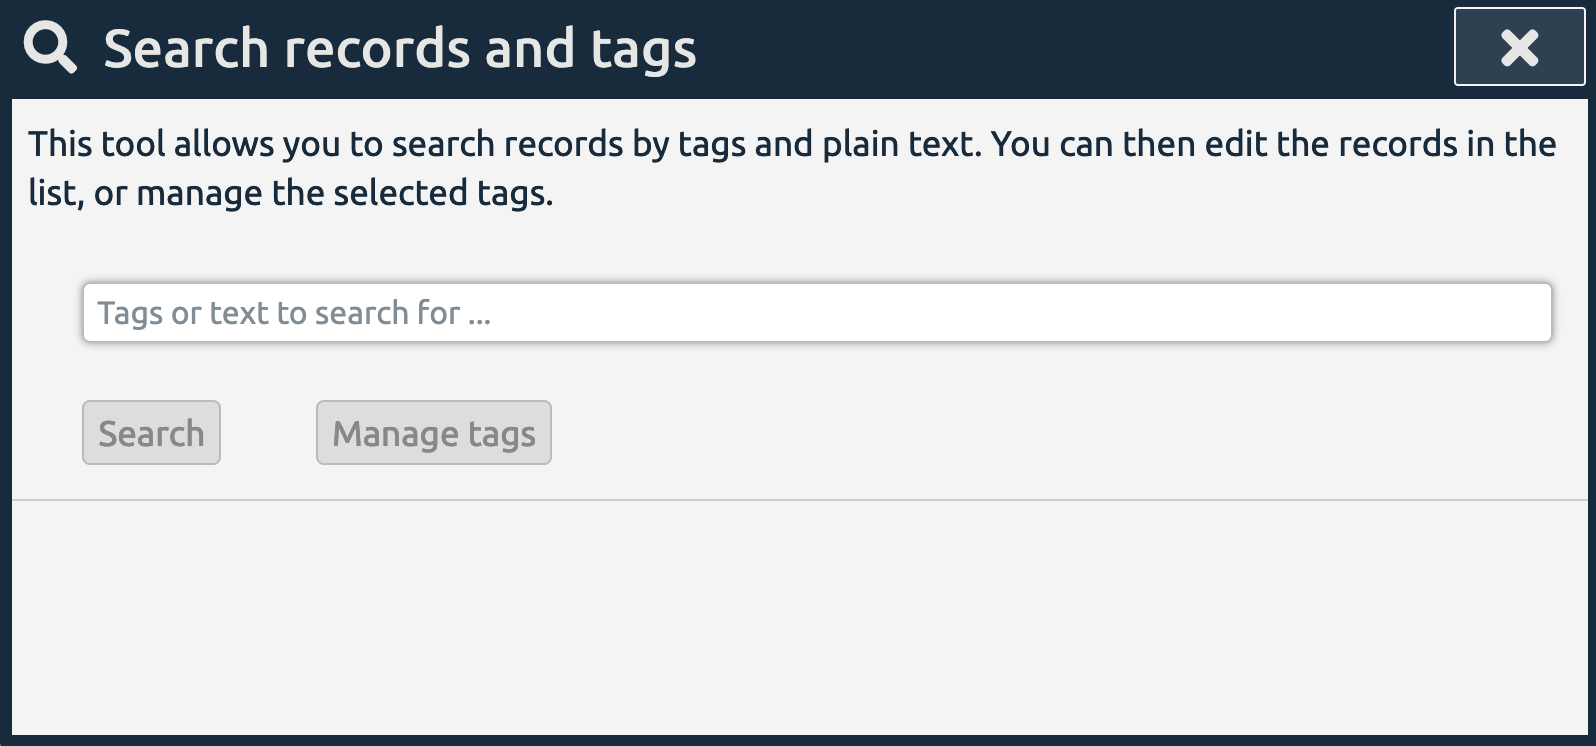
In the text field, you can write one or more tags as well as plain text. The dialog will then search for records that contain all of these tags, and the plain text (if given). The found records are displayed, and you can click on them to make changes if needed.
You can also press the "manage tags" button to open the tag manage dialog for the currently selected tag / combination of tags. In this way you can manage tags that you have not used in a while, or tags that have never been used yet.