 Pricing
Support
Log in
Sign up
Pricing
Support
Log in
Sign up
by Almar Klein | published 01-02-2021 | last edited 06-04-2021
Getting started with TimeTagger
In this post I'll explain how to use TimeTagger. You can also watch the video tutorials, or play around in the demo.
Starting the timer
To create a new time record, hit the play button at the top.
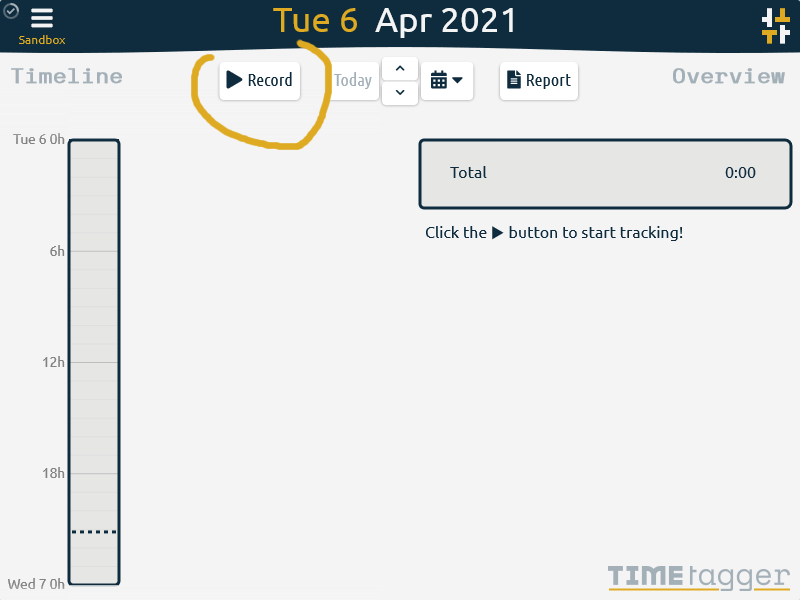
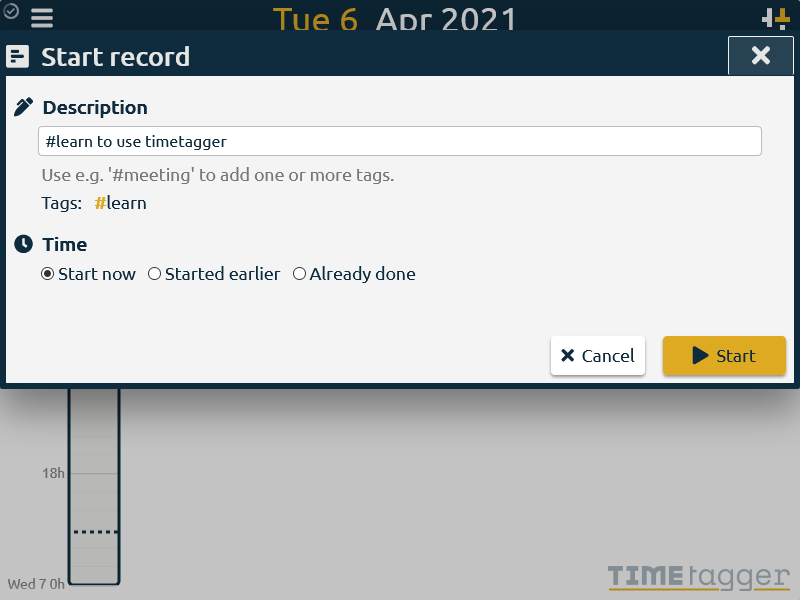
This will open a dialog where you can add a description of what you're going to do. This is also where tags come in: all words in the description that start with a hash ("#") will be tags for this record. We'll see what that means in a minute.
You can now start the timer by clicking start. Alternatively, you can specify an earlier start time (which defaults to the stop-time of the most recent record). Or you can create a finished time-record by specifying both a start and stop-time.
If you hit start, the timer will now be running. This is indicated by the presence of a stop button next to the play button, and a blinking dot in the timeline. Running records also show their duration in seconds instead of minutes.
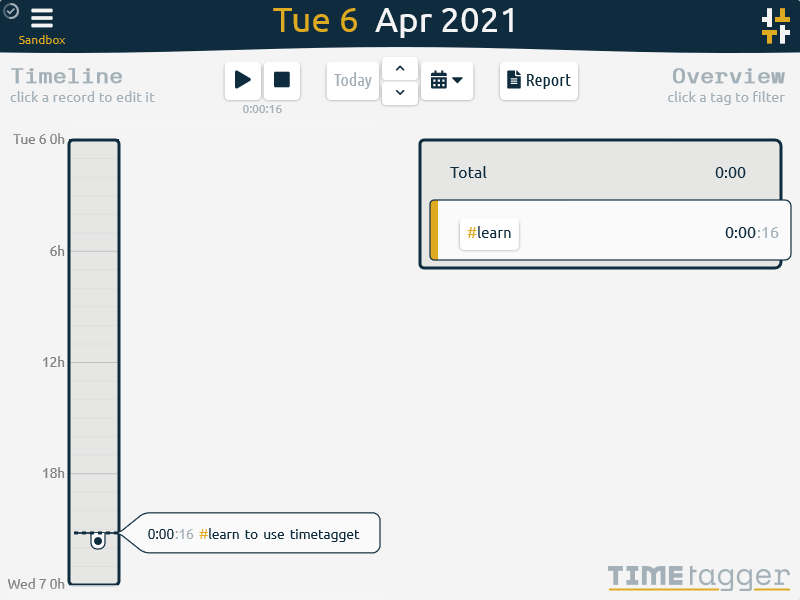
Above you can see how the app is divided in a left and right region. The left displays the timeline, while the right displays an overview. We'll have a closer look at these now. (On small screens the app shows either the record-view or the overview, and you can swap between them.)
Navigating the timeline
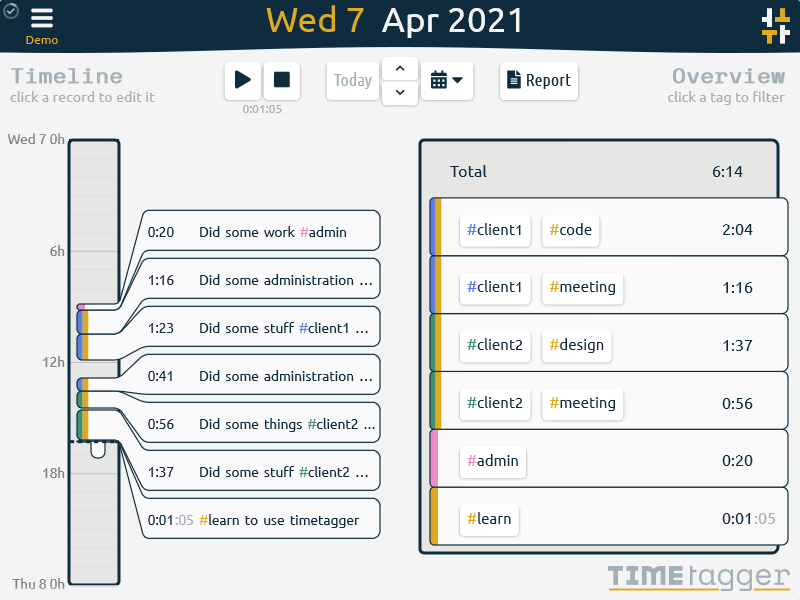
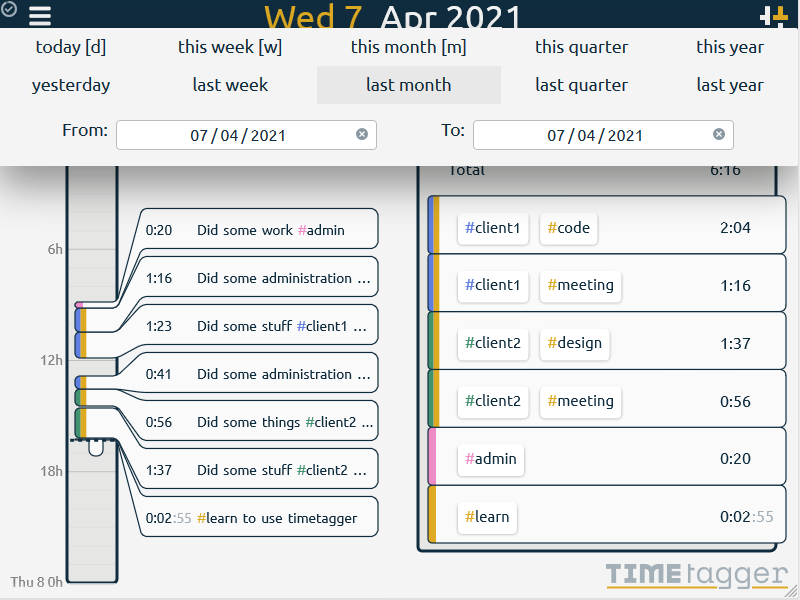
Let's add a few more records to make this a bit more interesting. You can see the timeline at the far left, and next to it the details (description and duration) of each record. By selecting a record in the timeline, you can drag it to change the start and/or stop time. You can also click on the description to open the record's dialog again, where you can then edit the time and description.
The timeline is interactive. You can navigate it with the mouse (or finger, on touch screens). This way you can quickly inspect previous days, or zoom out to view the week or month. You can also navigate with the arrow keys (a full list of shortcuts can be found in the settings dialog).
To help with navigation, there are also some buttons at the top to go back to "today", move up/down, or select common time ranges:
The time-range that you select applies to the records that are shown, as well as the overview panel and the report. We'll discuss these next.
Overview and reporting
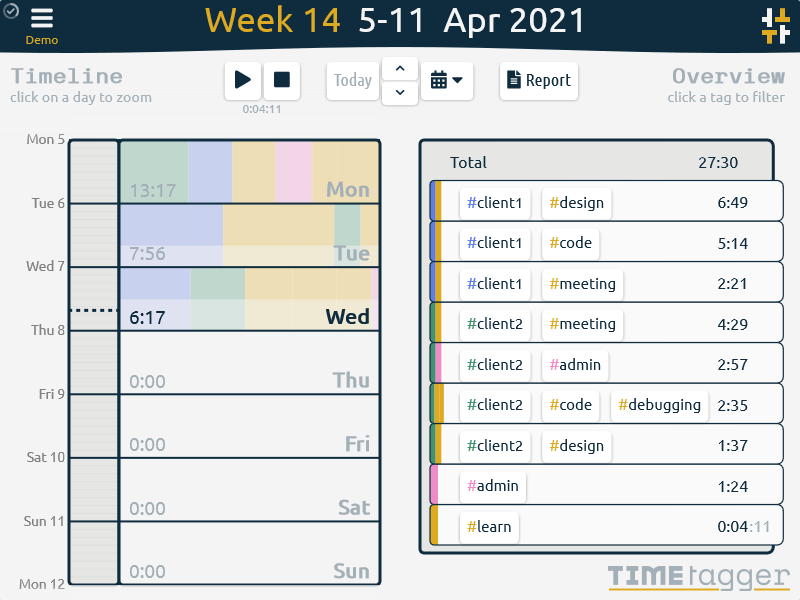
The right-hand side of the app shows the overview panel. It shows the total amount of recorded time (for the selected time range), and the total time for each combination of tags. The tags are automatically sorted and grouped in a way to give the most sensible overview. See for instance this week overview:
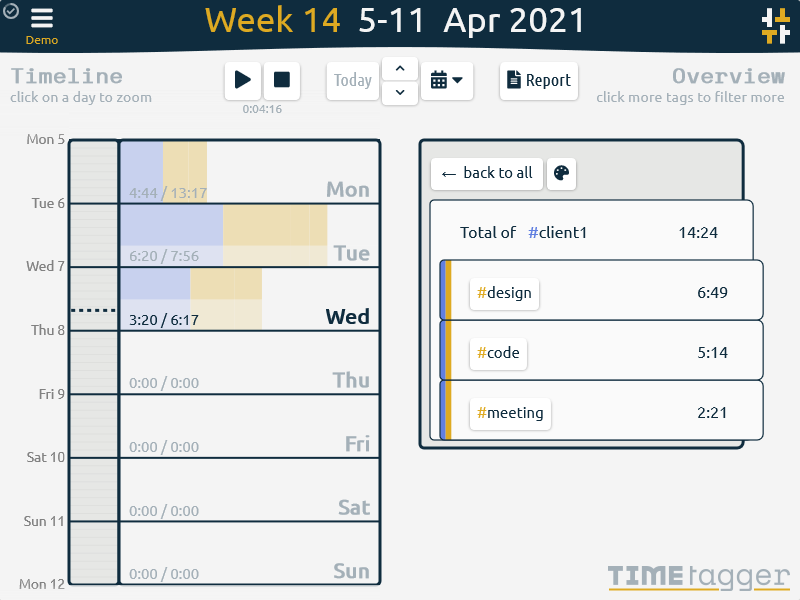
You've seen by now that each tag has an associated color. This color can be selected by clicking on the color-band in the overview panel.
You can also select one or more tags by clicking on them in the overview panel. The overview will then show a filtered result. Below we selected the #client1 tag:
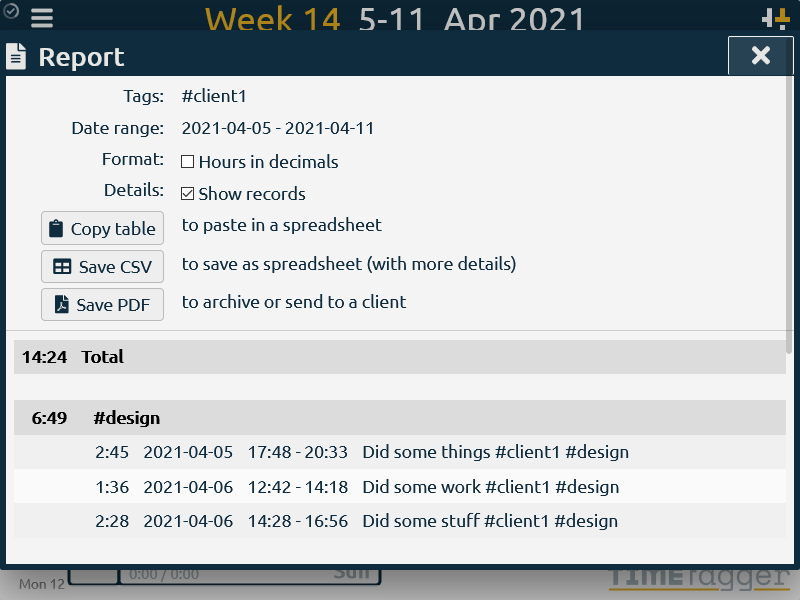
If we now select the report button at the top, a dialog will open with a detailed table for the selected time range, filtered by the selected tags. You can also export this table to PDF or CSV for archiving or further processing.
Ready to try TimeTagger?
This concludes the getting started guide! Now try it out in de demo, or sign up to get started!
Or learn more with any of the other articles.